

My Favorite Jam Recipe Skips Pectin, Canning, and the Fuss
I thought homemade jam was a hassle. Turkish jam changed my mind.

I’m so glad you’ve stopped by. I’m Leslie, an enthusiastic home cook who loves making dishes that delight others. I am particularly fond of Turkish food, no-knead breads, and meals that hold memories. Most of all, I love sharing them with you!
If you enjoy this post, it would mean so much if you’d subscribe and click the ❤️ button at the bottom. I read and respond to all comments, so if you have any thoughts or feedback, or just want some help in the kitchen, drop me a note!
Hello friends!
You know I bake quite a bit of no-knead bread, right? Today I’ve got a recipe for something just as easy to put on top of it.
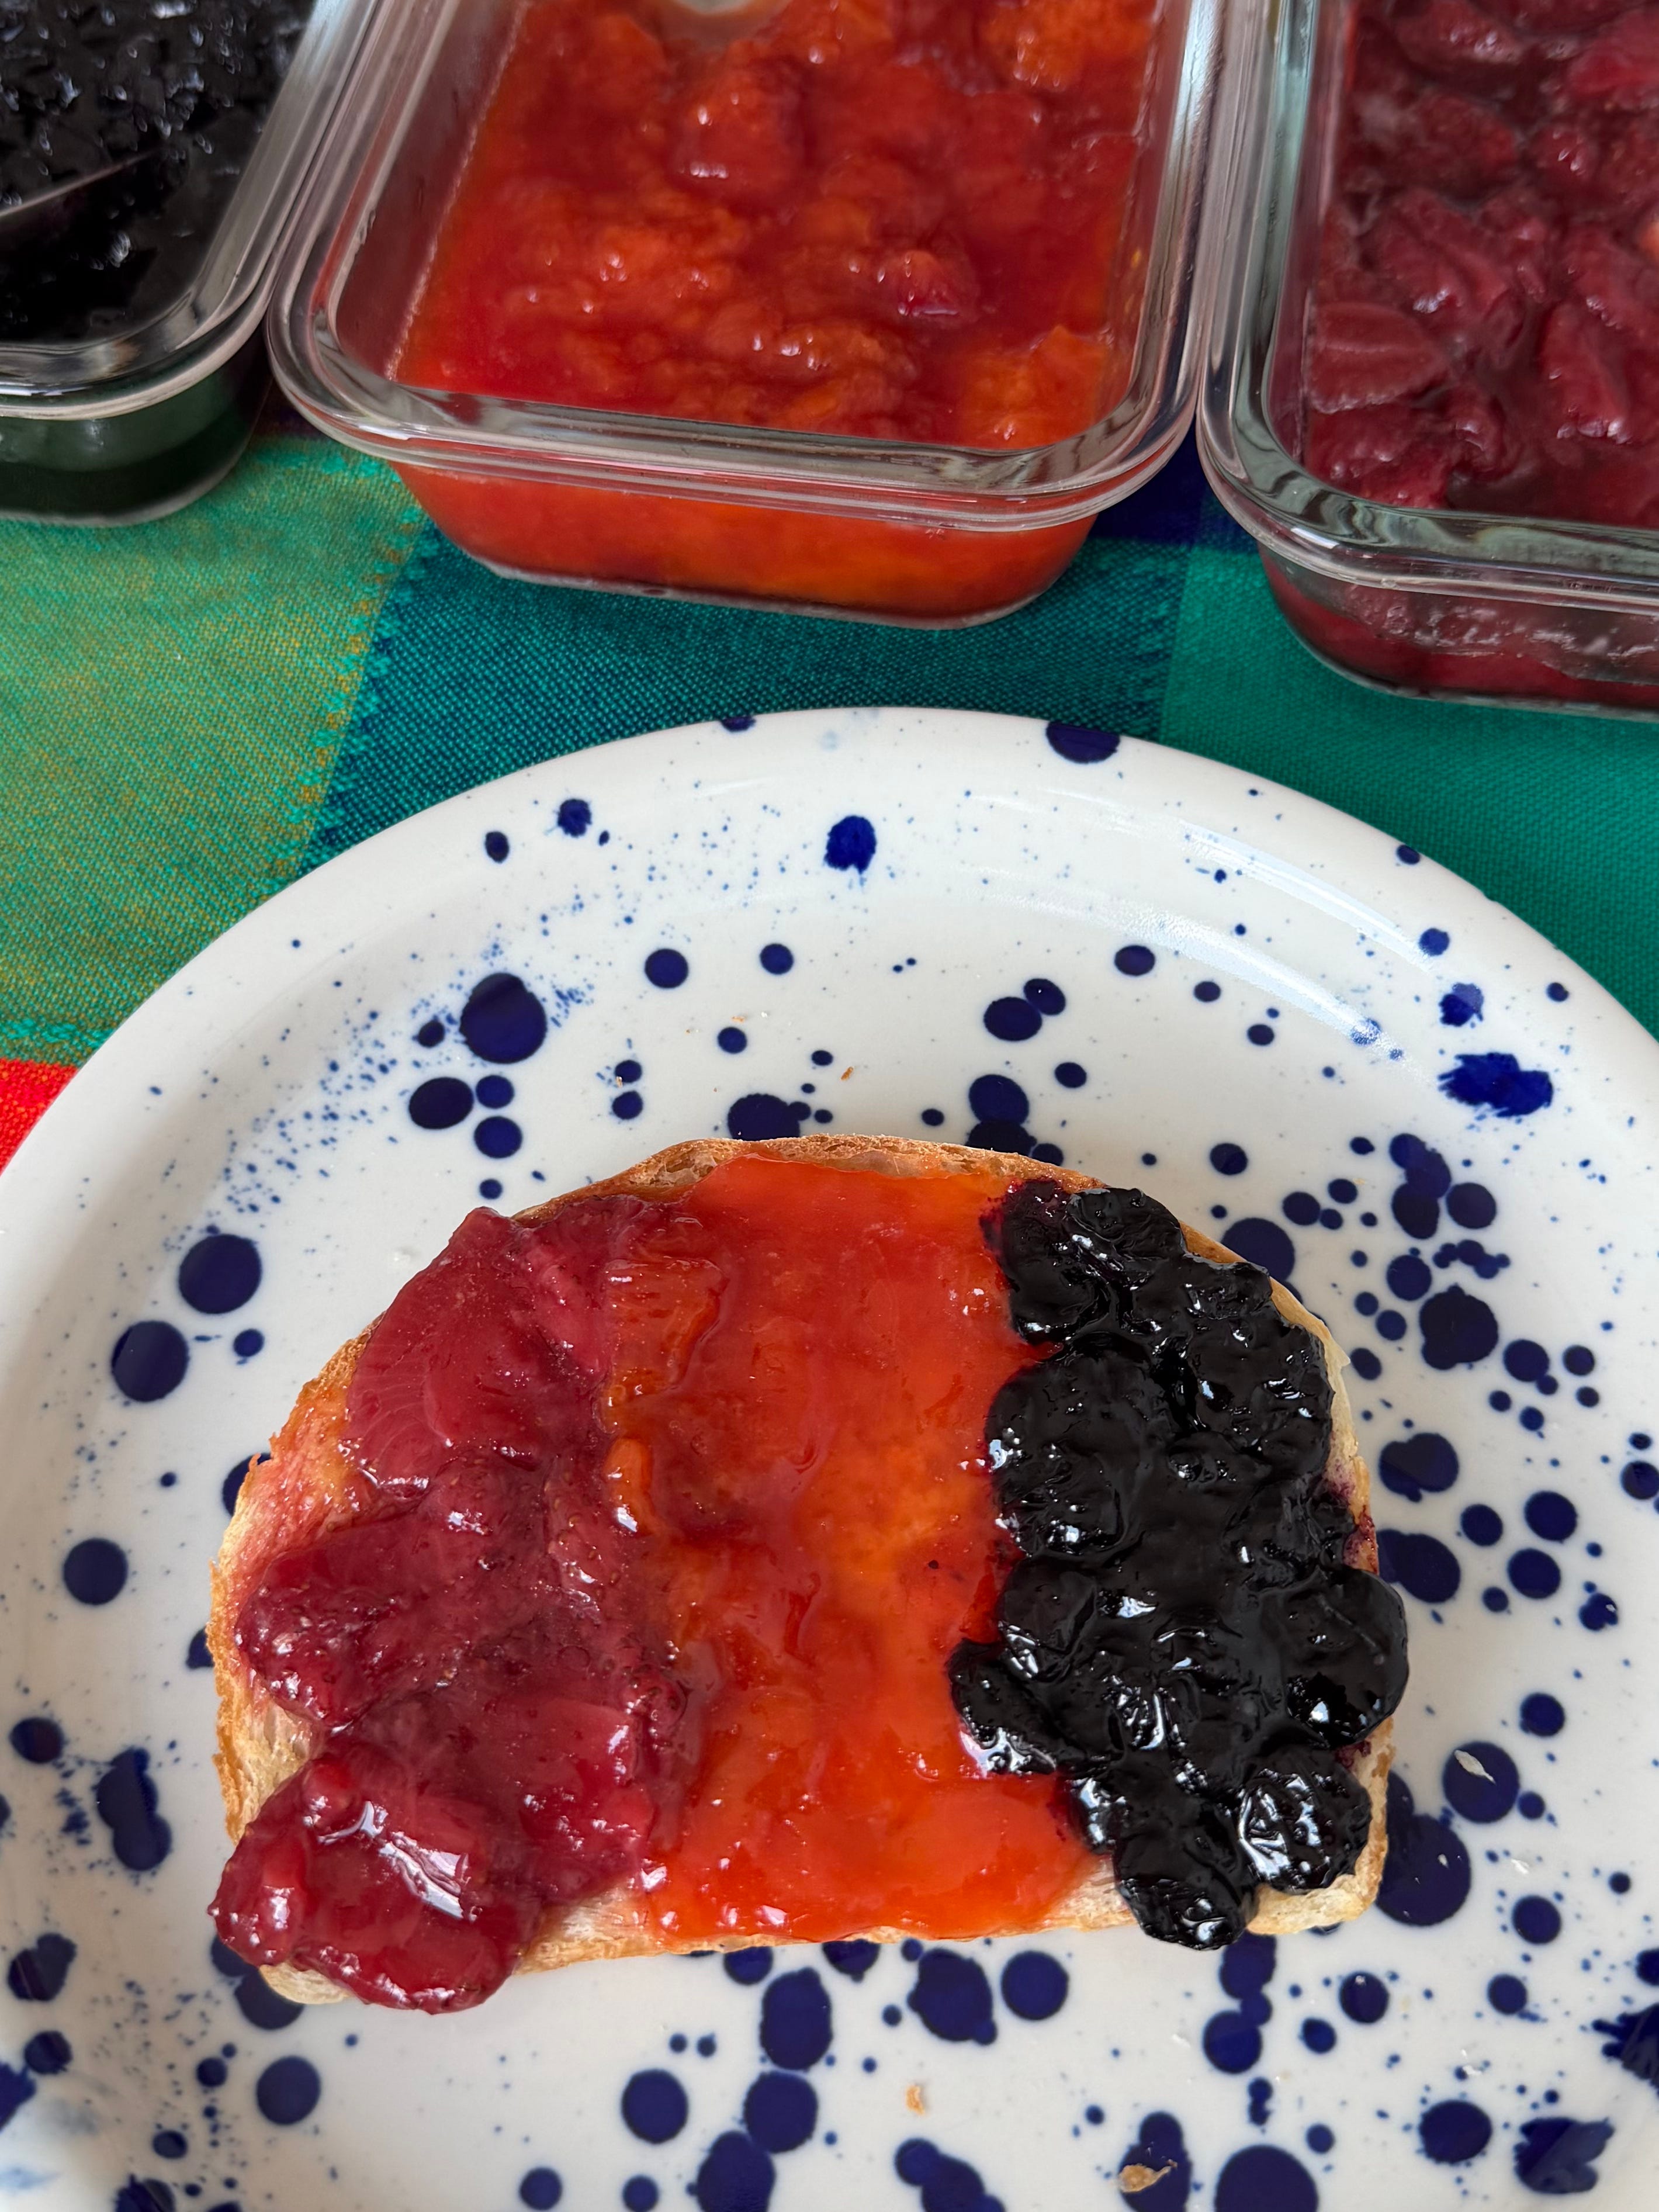
Am I the last person to discover that homemade jam is both extremely easy to make and tastes ten times superior to the top shelf store-bought stuff?
I’ve always thought that homemade jam was such a headache. Maybe I’d take it up in my future homesteading days (if they ever come), but not while I live in an apartment in NYC.
Everything I thought about jam (was wrong)
I had many beliefs about jam. Most turned out to be misconceptions. The script in my mind was this:
Make it in large batches, or it’s not worth it.
Now that you’ve made enough jam to feed a small children’s school, you need to can all of it.
And in order to can it, you need a large stock pot and equipment with which to boil the jars. Plus, you need a bunch of jars. Oh, but first, you must sterilize those jars.
You need to source the “best” fruit. I always thought that was the pricier, local farmer’s market stuff, which, if I am buying, I just want to eat!
And then there is pectin, which just flat-out intimidates me.
I thought it required an entire weekend of dedication, and on top of all this, I believed that the top shelf French jams like Bonne Maman and St. Dalfour were basically as good as it gets. Why fuss with making it at home?
A recipe that changed my mind
As we were planning the menu for our Turkish breakfast last month, we agreed we needed some reçel (pronounced reh-chel) on the table.
Reçel is Turkish jam, or technically preserves, and it’s quite different from most of what you’d find in a US grocery store. It’s usually made of large chunks of fruit suspended in syrup, rather than a thick spread. Candidly, I often find it too sugary and too runny, but I still wanted to include something that felt closer to reçel than to American jam.
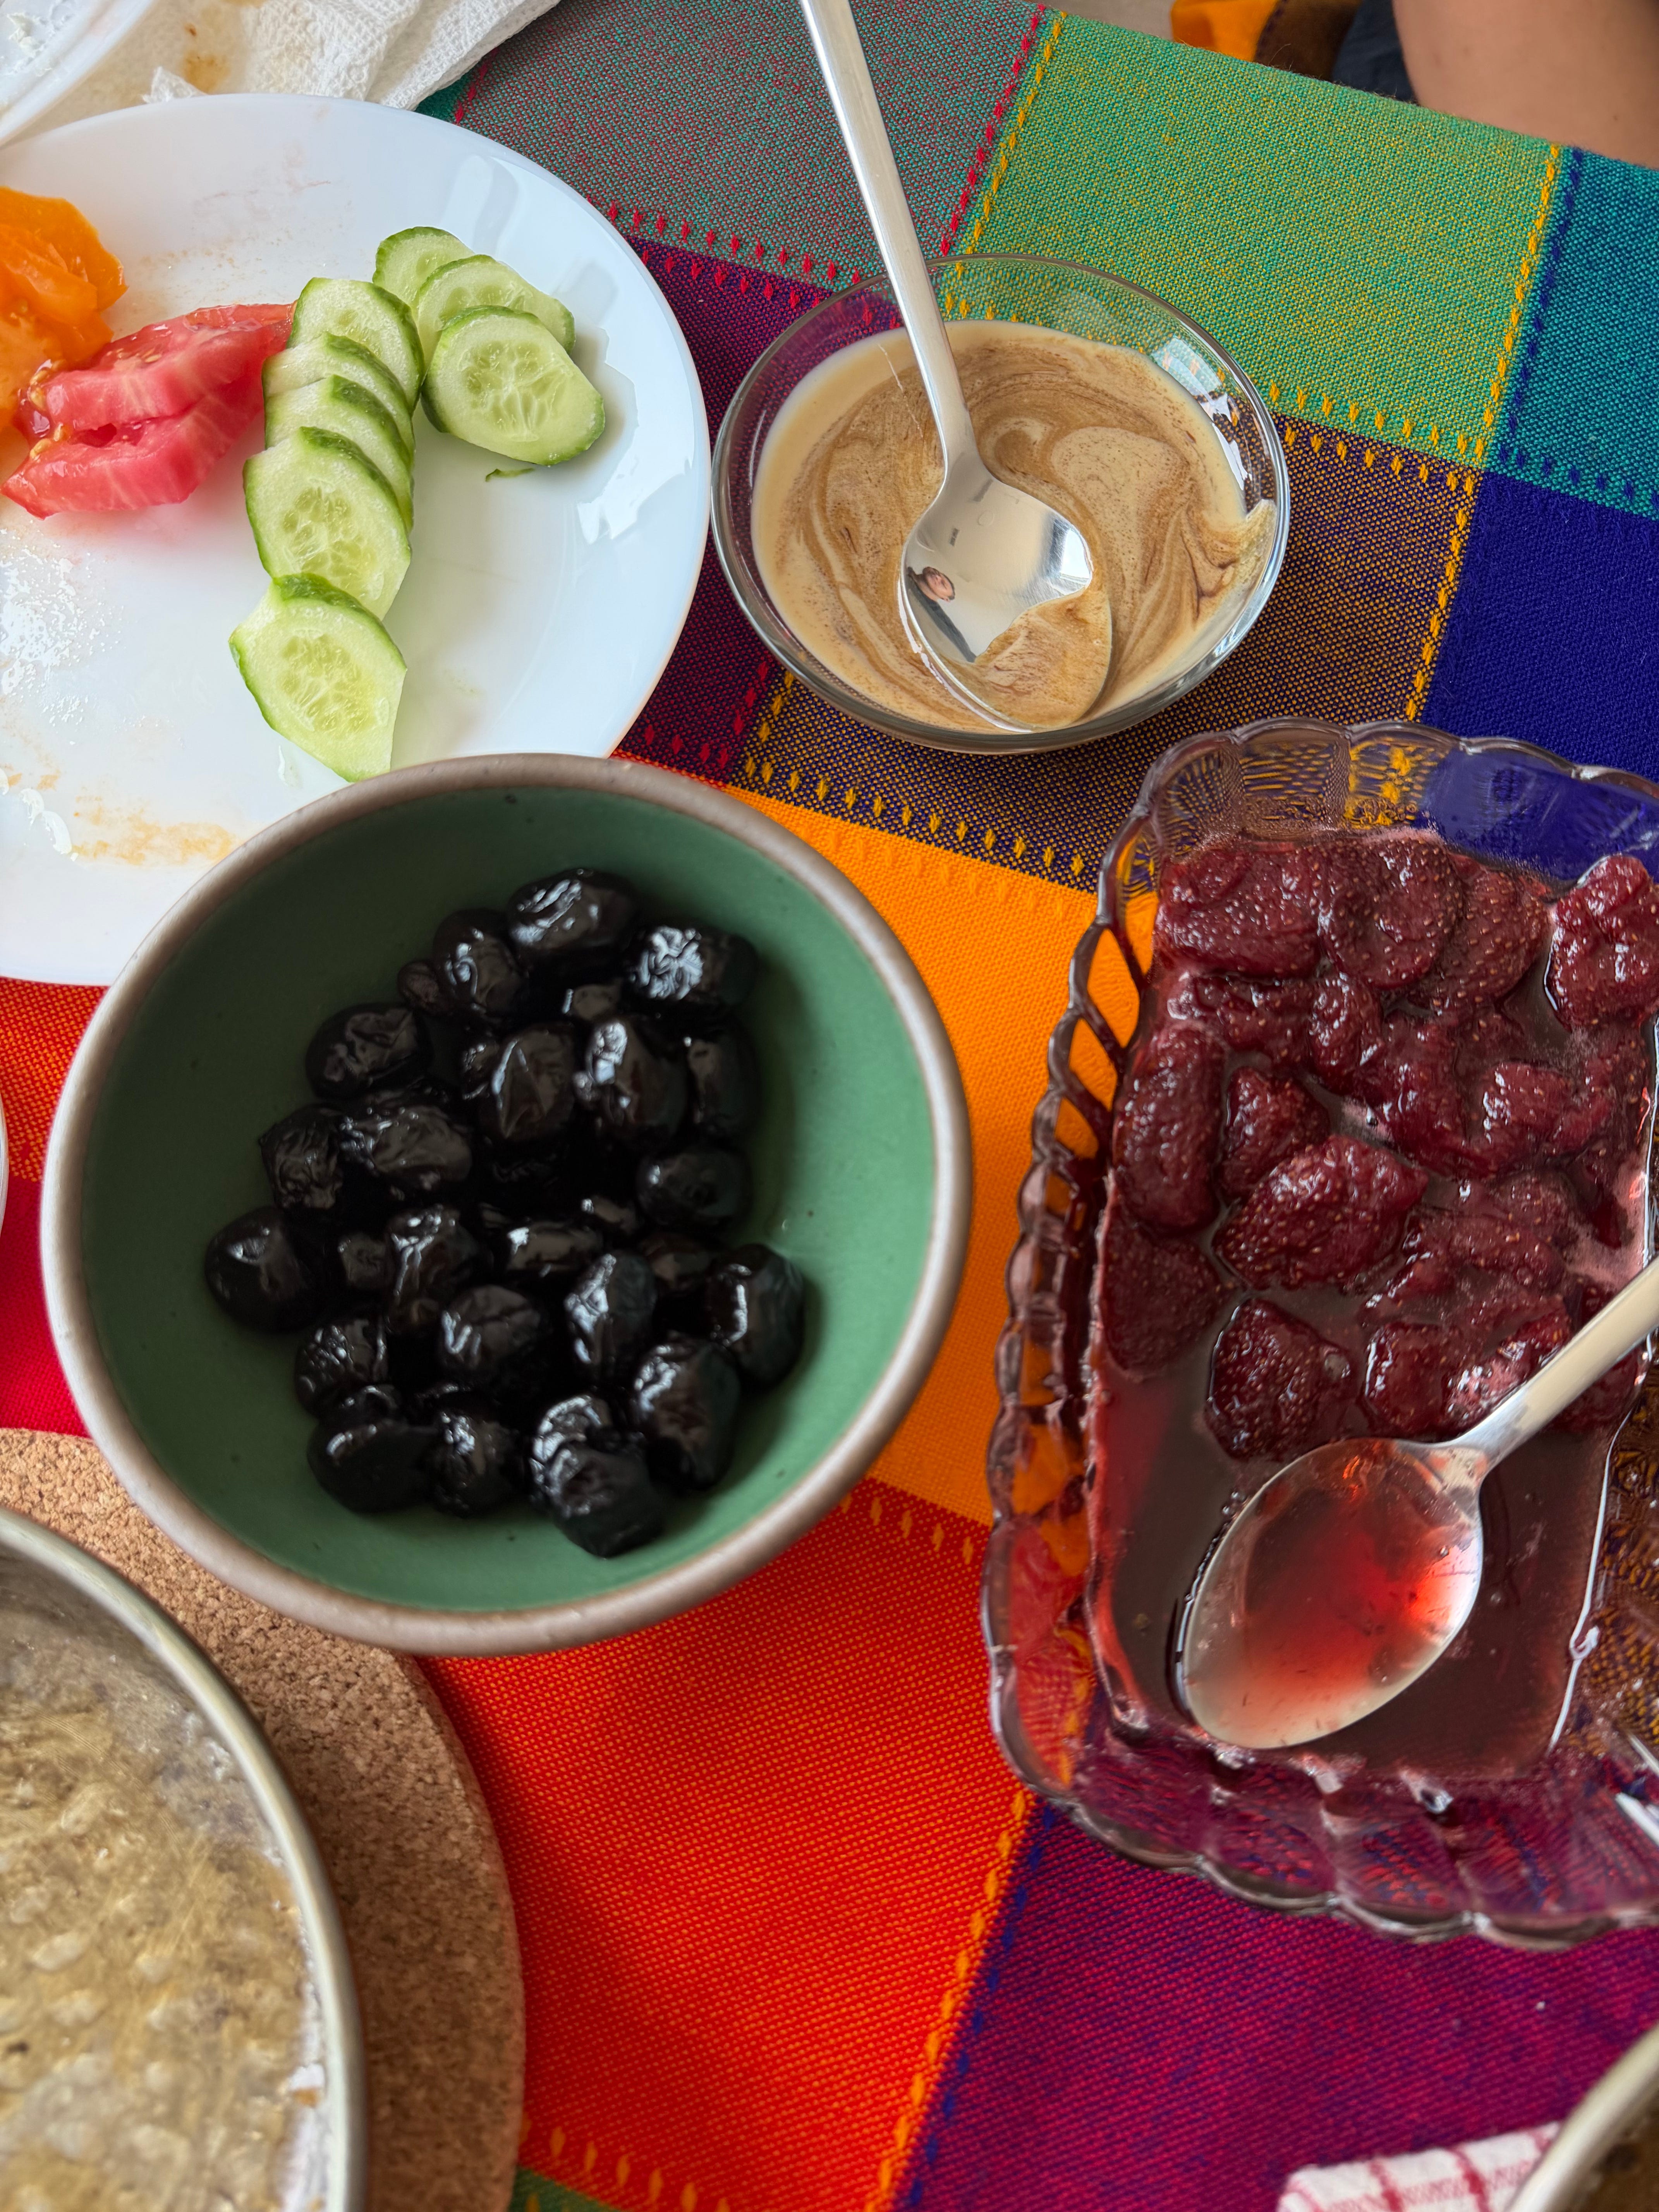
So I started looking up reçel recipes, and my biggest jam hang-ups got debunked pretty quickly.
I learned that reçel is made with just fruit, sugar, and a bit of lemon juice. No pectin or candy thermometer is necessary, which was a relief because I’d once tasted jam with little hard pockets of pectin, and I didn’t want to make that mistake myself.
So I thought, what if I took the reçel process, reduced the sugar, and cooked it a little longer so it sets up more? I’d get something less sweet and thicker, with the fruit flavor doing more of the talking.
Well, as it turns out, that is exactly what it takes to make my favorite kind of jam! (And also similar to how the French make jam, go figure.)
My recipe gives you something between a French style and Turkish style jam, with way less sugar than either. This means that the fruit flavor packs more of a punch. The reduced sugar also means my jam has to live in the fridge rather than a pantry shelf, but for something you’re making in small batches and eating within a few weeks, that’s not really a downside. It also means you can skip canning altogether. You need a clean jar, but you don’t have to worry about formal sterilization, a water bath, or boiling equipment.
What I love most about this jam (other than how delicious it is) is that you can tweak the recipe to your liking. It’s equal parts art and science.
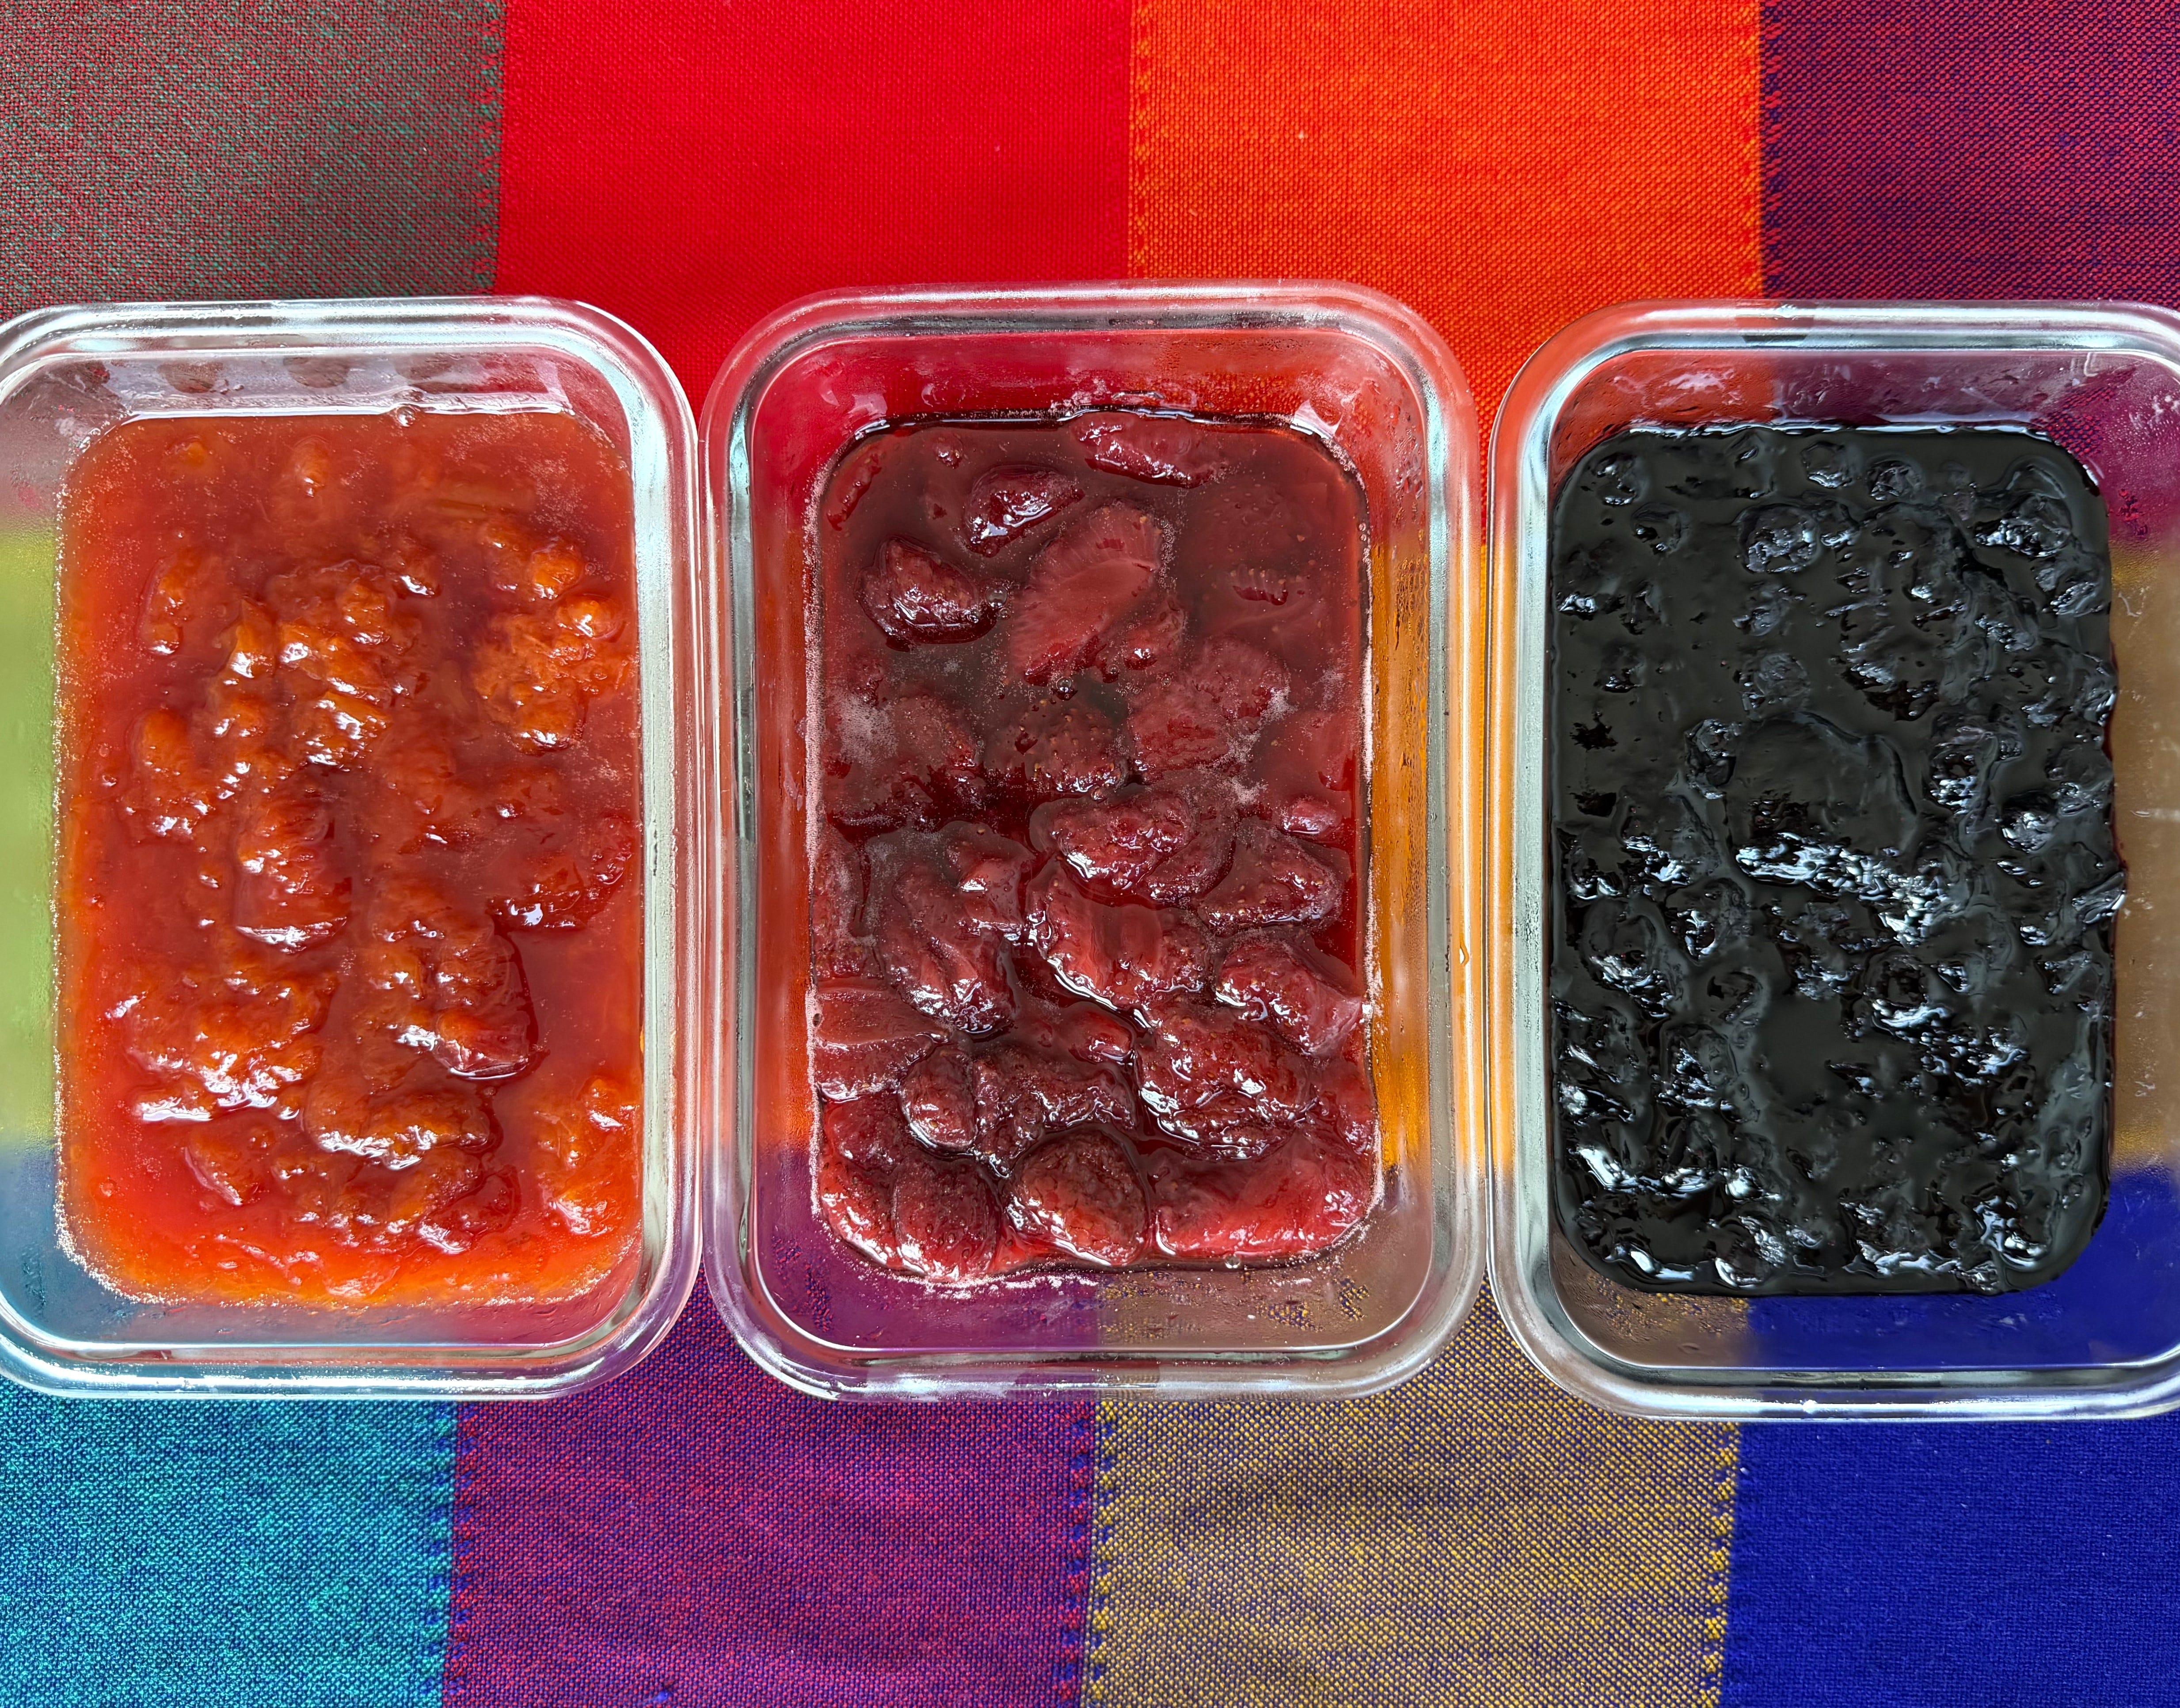
Now make it yours
The consistency is largely determined by three things: the amount of sugar, the amount of cook time, and the amount of natural pectin in your fruit.
More sugar = more syrup. If you’d like a lot of sugar syrup in your jam, use more sugar.
Longer cook time = more set jam. The longer you cook your jam, the more you will evaporate water and activate the pectin.
More pectin = more ability to achieve a firmer set. All fruits contain some level of pectin. Some have a lot, others have very little. Underripe fruit naturally contains more pectin, too. That said, all of the fruit I used was ripe, including the low-pectin berries, and my jam set just fine.
The flavor is largely determined by the fruit and the amount of sugar added.
If you are happy eating the fruit, then you will get a great tasting jam. I don’t think you need to use the most expensive local fruit if it’s not easily accessible or in your budget. I don’t have easy access to a farmer’s market so I just used what I could find at my grocery store and my jam turned out wonderfully.
Less sugar allows the fruit flavor to shine, but keep in mind that some fruits naturally become sweeter or more tart as you cook them. So you might want to adjust sugar depending on the fruit.The method impacts both flavor and texture. Letting the fruit and sugar sit together in the fridge overnight helps distribute sweetness more evenly through the fruit rather than sitting on the surface. This creates more depth of flavor than just mixing the fruit and sugar together and cooking immediately on the stove. I tried the latter (no overnight sit) with the blueberry version and is also delicious, but I noticed a flatter type of sweetness in comparison to the other two jams.
Also, this method impacts the ability to keep the fruit in larger pieces. Since you’re starting the cooking process with more water extracted from the fruit, you’re boiling down liquid instead of waiting for mostly solid fruit to break down. This means less time at high heat and fruit that stays more intact. However, if you prefer a jam with smaller pieces of fruit, then feel free to cut the fruit into smaller pieces and mash as you cook. It will break down easily.
I’m so glad it didn’t take me moving to the countryside to learn that jam doesn’t have to be an all-day affair with a science lab of equipment. I’ve learned that I quite enjoy making jam in small batches. It takes under an hour of hands-on time between cutting the fruit and cooking it. A bit over a pound of fruit gives us enough jam to last a few weeks, and storage is just a small spot in the fridge.
The best jam you’ve ever tasted might be this simple. Enjoy it, share it with friends (if you manage not to eat it all first), and then start planning your next flavor.
Easy Jam (With Almost Any Fruit)
Yield: ~300 grams (10 oz) of jam
Ingredients
500 grams fruit, washed and hulled or pitted (I’ve tried with strawberries, apricots, and blueberries; see Note 1 for other ideas)
125 grams granulated sugar (see Note 2 for sugar amount suggestions)
2 teaspoons fresh lemon juice (from a wedge of lemon) (see Note 3 on the necessity of this)
Method
Prep your fruit and macerate overnight: For strawberries, cut large ones in halves or quarters. For apricots, cut small ones in half and large ones into quarters. Add them to a medium saucepan (or sealable container) along with the sugar and give it a brief mix. Then cover and leave in the fridge for 6-24 hours.
Bring to a boil and add lemon juice: Before you start cooking, stick a saucer or small plate in your freezer, we’ll use it toward the end.
Take the fruit out of the fridge. If it was in a sealable container, transfer it, including any sugar or liquid, to a saucepan. Place the uncovered pan on the stove over medium heat and gently mix to get it into an even layer. When it comes to a boil, maintain the boil for ~10 minutes, stirring occasionally. Then add the lemon juice and give it a brief stir, scraping the sides which tend to thicken more quickly.Keep cooking: Keep the jam at a low boil, gently stirring every ~5 minutes for another 30-40 minutes. The time it takes will vary depending on the level of pectin and moisture in your fruit.
Cold plate test: When the liquid in the mixture looks like it’s getting thicker, take your plate out of the freezer and put about a teaspoon of the jam onto your plate. Give the jam 5-10 seconds to cool down. Run your spoon through it to see if a trail closes or if it stays for a few seconds. If it stays, then your jam is ready! If it closes quickly, then you might want to continue cooking for a few more minutes and re-do the test. This part is really up to personal preference in how thick or thin you want your jam to be.
Store & enjoy: Transfer to a clean glass container, cover, and refrigerate for at least an hour, in which time, it will set. Mine have stayed good for over two weeks, at which point, they’re finished. 🙂
Liked this recipe? Then give me some love 😊
Thanks so much for reading! This post was probably finished at 2am, tested in multiple kitchens, and overthought to an embarrassing degree—all so you can make something delicious. My recipes are free, but if you want to support my morale, you can:
❤️ Drop a heart below - it’s free and easy and feels like receiving a virtual hug so thank you!
💬 Leave me a comment - I love chatting with you! I read and respond to all of them.
➡️ Share or re-stack this post so other people can find it - help me achieve my dream of becoming everyone's internet cooking friend
😍 Become a free subscriber (no paid tier exists yet, so this is literally the VIP option)
I really appreciate it. I’m so glad you’re here! 💞
Notes
(1) Fruit suggestions: It’s best to stick to fruits like berries, stone fruits, apples, and quince. Some fruits will gel more than others. Very watery fruits, like melons, will probably not work.
(2) Sugar amount: You can add as much sugar as equal weight to the fruit, but I don’t think it’s necessary. If you want the jam to last for longer than a month in your fridge, aim to use a weight that is at least 50% of your fruit’s weight.
(3) Necessity of lemon juice: Fruit’s natural pectin needs an acidic environment to set properly, and lemon juice provides that acid. Skip it, and your jam may stay more of a loose syrup instead of gelling. Don’t worry about your jam tasting tart from this. Cooking mellows the acidity.
I like the way you have given us tools to customize the jam to individual preferences. Less sugar & more fruit flavor as well as pieces is a big plus too.
Love the explanation of what changes the texture and sweetness. It makes it feel much less intimidating and easier to adjust to personal taste. Thank you!